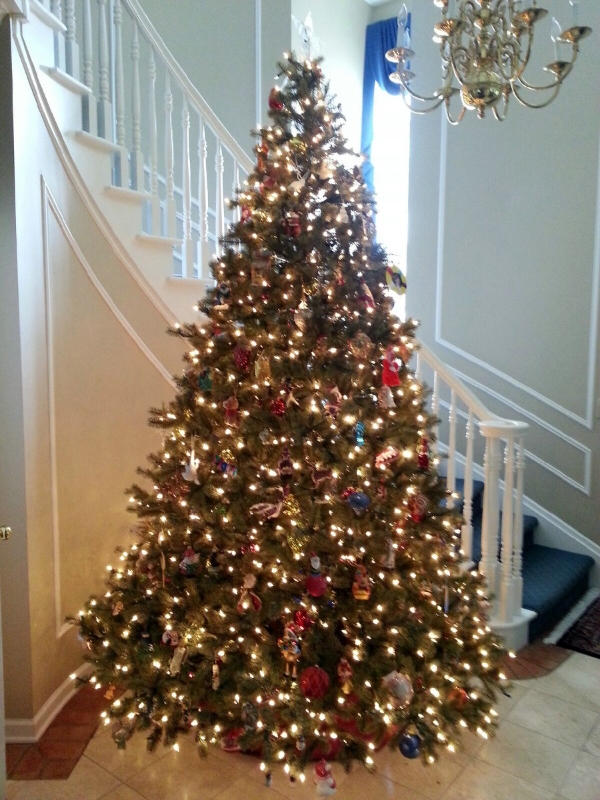
I may not have my own tree to decorate, but I still have some pretty strong opinions regarding Christmas ornaments. To me, decorating the tree isn't about following trends or trying out a new theme every year. I'll take a messy macaroni ornament over a glittering, mass-produced trinket any day. Don't get me wrong — I'm just as easily swayed by pretty, shiny things as the next person. But the perfect Christmas tree requires the perfect mix of nostalgia, cheese, pretty, and tradition. It's a proportion that I think our family tree manages to nail (when my brothers and I are around to keep my mom's ornament collection in check).
For every trio of bright gold ball, detailed wise man, and sparkling santa, you need gems like this:
(Yes, that's an angel made out of construction paper, a paper plate, and yarn. And yes, it has only one star-sticker eye. I love it.)
For every ceramic gingerbread house, wooden nutcracker, and embroidered angel, there's this:
I believe this is Mrs. Claus, after a brutal attack by the family dog several years ago. Mr. Claus might not have survived that one. (The one-eyed theme is not intentional, I promise.)
It's all about balance, people. Great Christmas trees are cultivated over many, many years, not purchased in one swift attack on the Macy's ornament section. Which is why I've started the tradition of making ornaments for my friends who have reached the stage in their life where they actually have their own Christmas tree. Namely, Adrienne. (Katie, you're next!)
Per my Christmas tree philosophy, I try to do an even mix of tasteful and hilariously random ornaments. Last year's batch included this sad whale:
This year, I continued the felt theme because, well, I love felt. We've already established that I tend to craft like a second grader.
This year's batch, however, is clearly fourth grade-caliber. Felt sushi rolls, an embroidered vinyl record (or alien boob — you decide), an embroidered starburst thingy, and a clay ornament with the Brooklyn bridge. More specifically, an illustration of the Brooklyn bridge that Dominik did for their wedding invitation.
Can we talk openly about the fact that wedding-related ornaments and ornaments meant to celebrate a couple's first year of marriage all suck? After extensive research, I've found that the majority of them to fall on either end of the following spectrum:
The goal here is to strike that perfect balance of sentiment and taste, or what I like to call the "Aw" factor. And let me tell you, it's hard. One wrong step and you're embroidering the Webster's dictionary definition of marriage or modpodging a rhyme that references both cowboy boots and Jesus.
But I think what I ended up with here is an acceptable offering, and — even better — a really easy method for making customizable ornaments. Ready? Here's what you need:
Materials
- Oven-bake clay (I used Fimo)
- Waxed paper
- A printer
That's it.
First, roll out your clay and cut into your desired shape. Don't tell your roommates, but the cookie cutters in the kitchen are pretty handy for this. Next, use a skewer or other makeshift tool to carefully poke a hole near the top for hanging the finished ornament by.
Bake the clay the for the proper amount of time until hard — the instructions will be on the wrapper, so try not to throw that away when you get caught up in the nostalgia of crafting with clay again.
(Once baked, I gave the surface a light sanding with fine grit sandpaper. This might be completely unnecessary, but we all know that I'll take any excuse to break out the sandpaper.)
Next, figure out what image you want and insert it into a basic word document, sized to fit the surface of the ornament. I went with Dominik's drawing because (1) I really like the look of the simple lines and (2) the restaurant where we celebrated their wedding day was at the base of the Brooklyn bridge. Can I get an "Aw"?
Take your waxed paper and cut to the size of standard printer paper (or smaller, and then just tape to a piece of paper). Feed it into the printer and then press the magic button. Take the paper with the printed image and carefully place, ink side down, onto the surface of the ornament. Use your thumbnail to emboss the back of the paper and transfer all of the ink onto the clay. Then, simply peel away the waxed paper.
MAGIC.
Use your fanciest string, ribbon, or thread to add a loop and you're good to go. I also wrote Adrienne & Dominik's names on the back, along with their wedding date, because I'm sappy like that.
Congratulations! You can now go back to making tacky ornaments that your mom will try to "forget" to put out each year. But you will always find them and prevail, because no tree is complete without something like this guy:


